Category

Uncategorized

We won EGX Rezzed Game Jam 2016!

So over the weekend we were invited to take part in the Creative Assembly game jam at rezzed Having previously only previously participated in a 48 hour game jam, I was slightly worried about attempting to make a game in just 8 hours.

So when we rocked up to rezzed we were told that the theme for the game jam would be flux with the three diversifiers being liquid, sound and waves. I initially drew a complete blank upon hearing the theme, but luckily my team mate Michael was able to scribble together a game idea.

QJYbbzSI

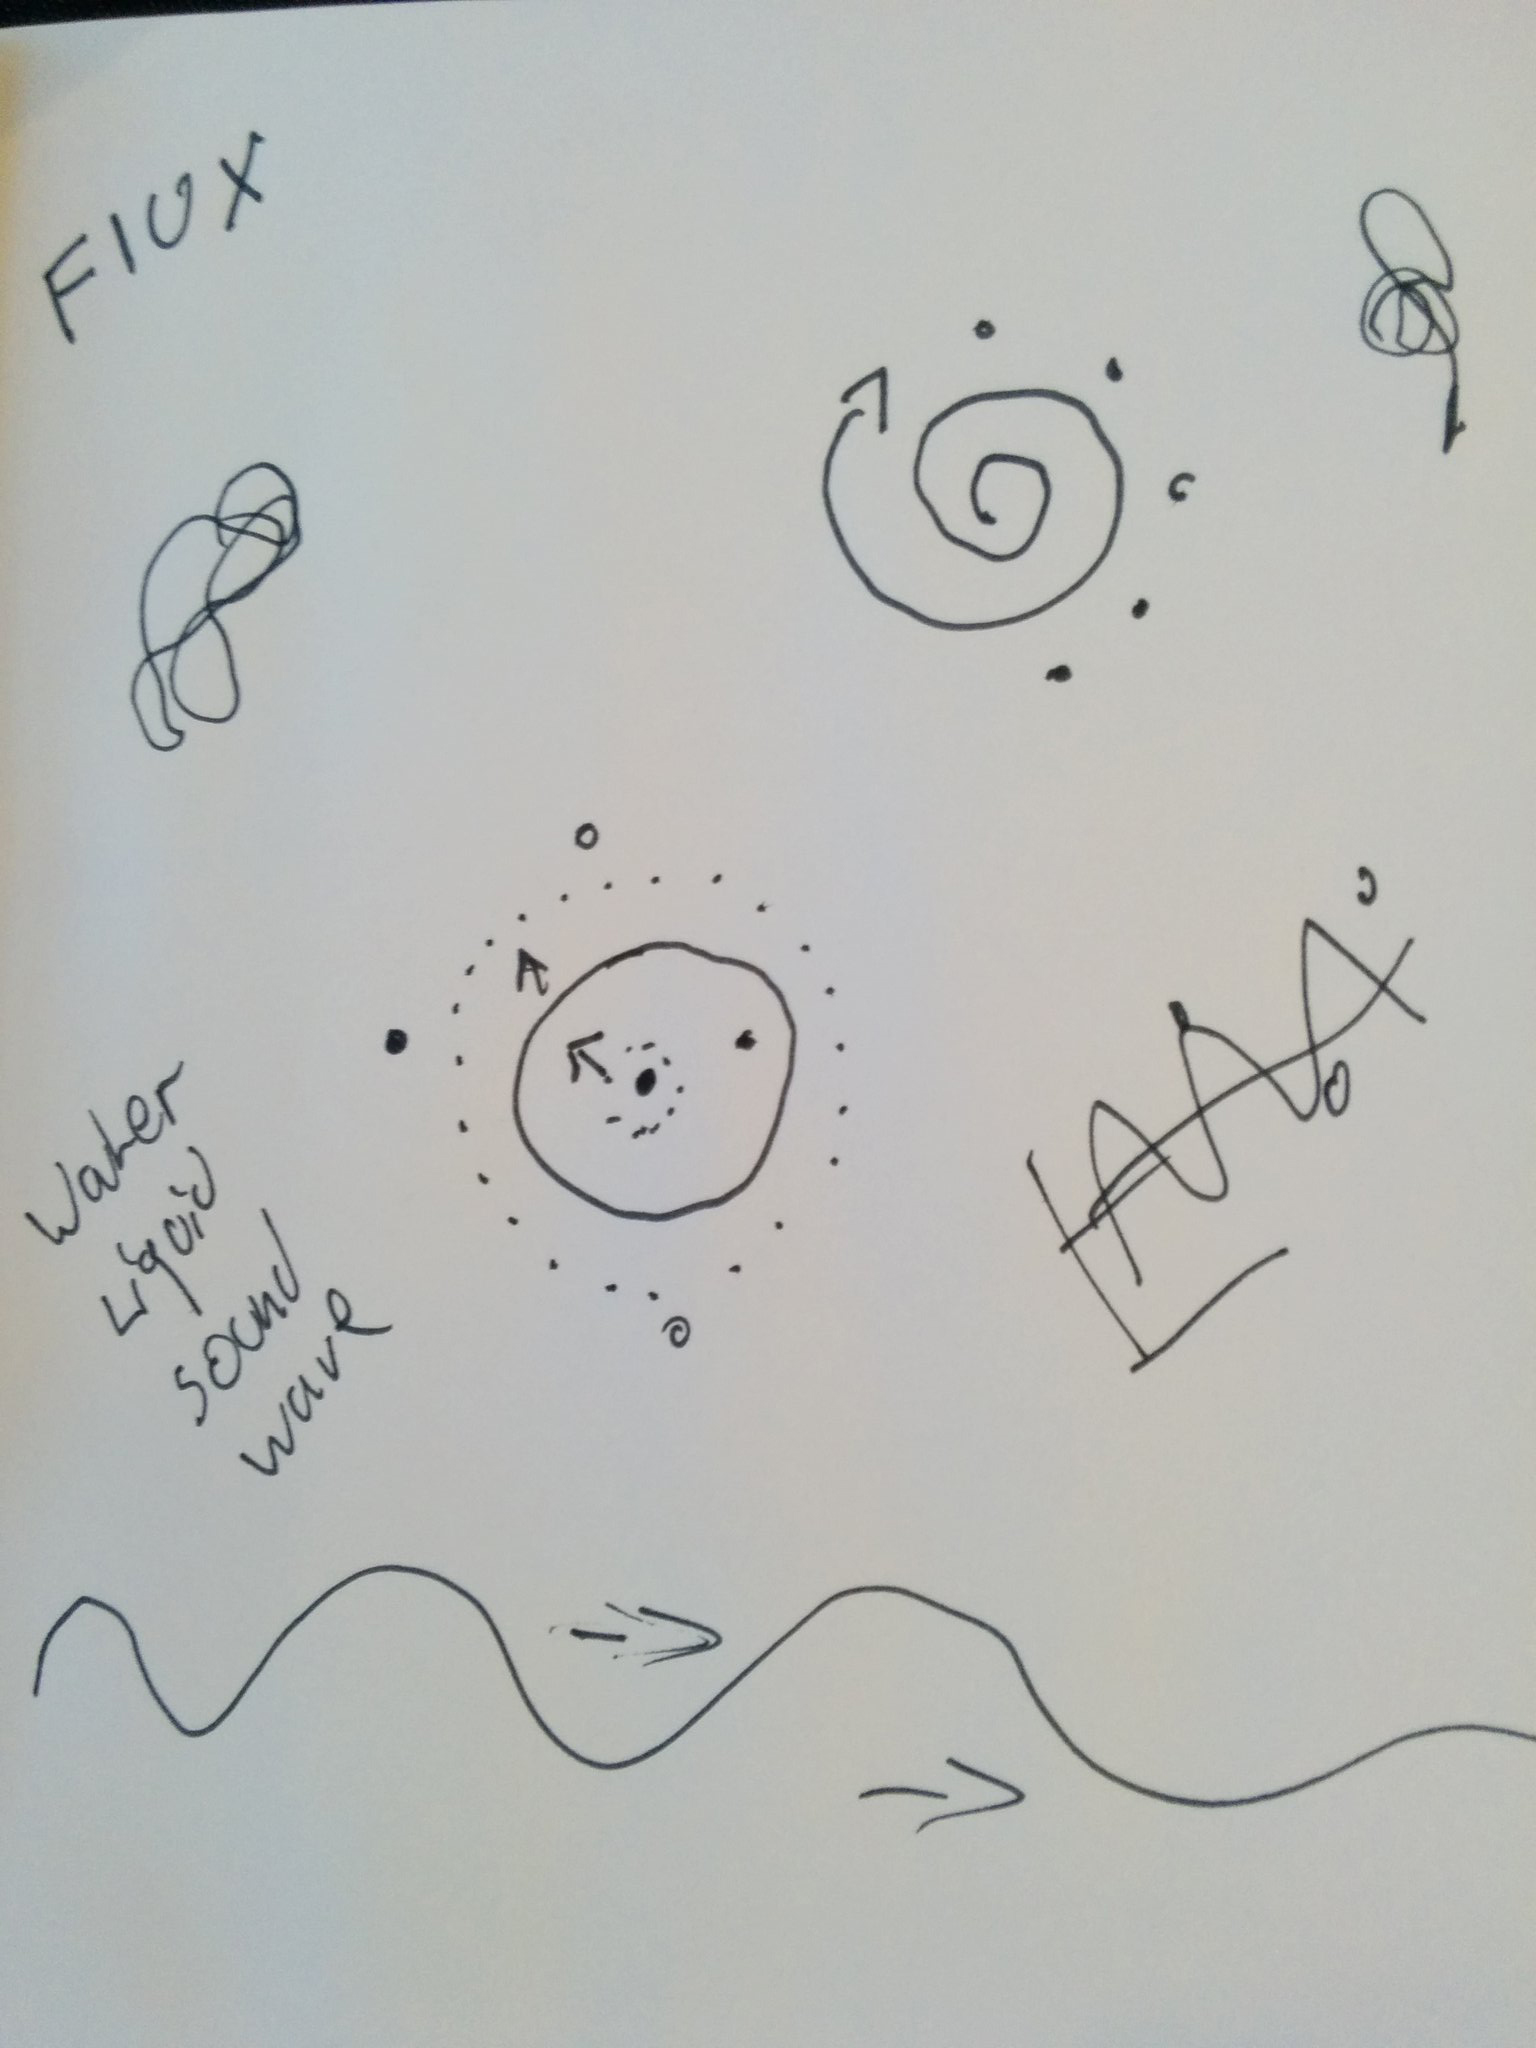
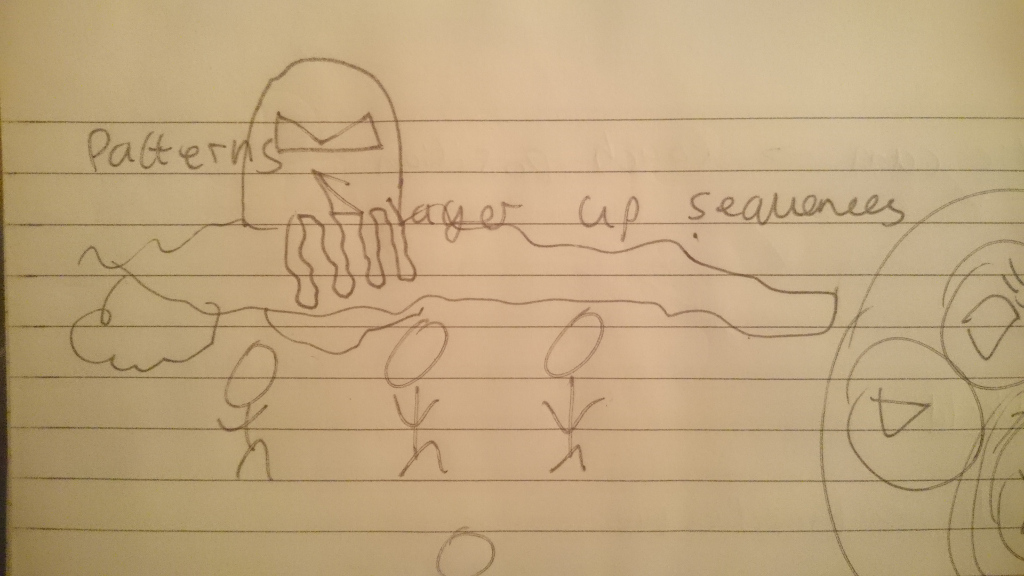
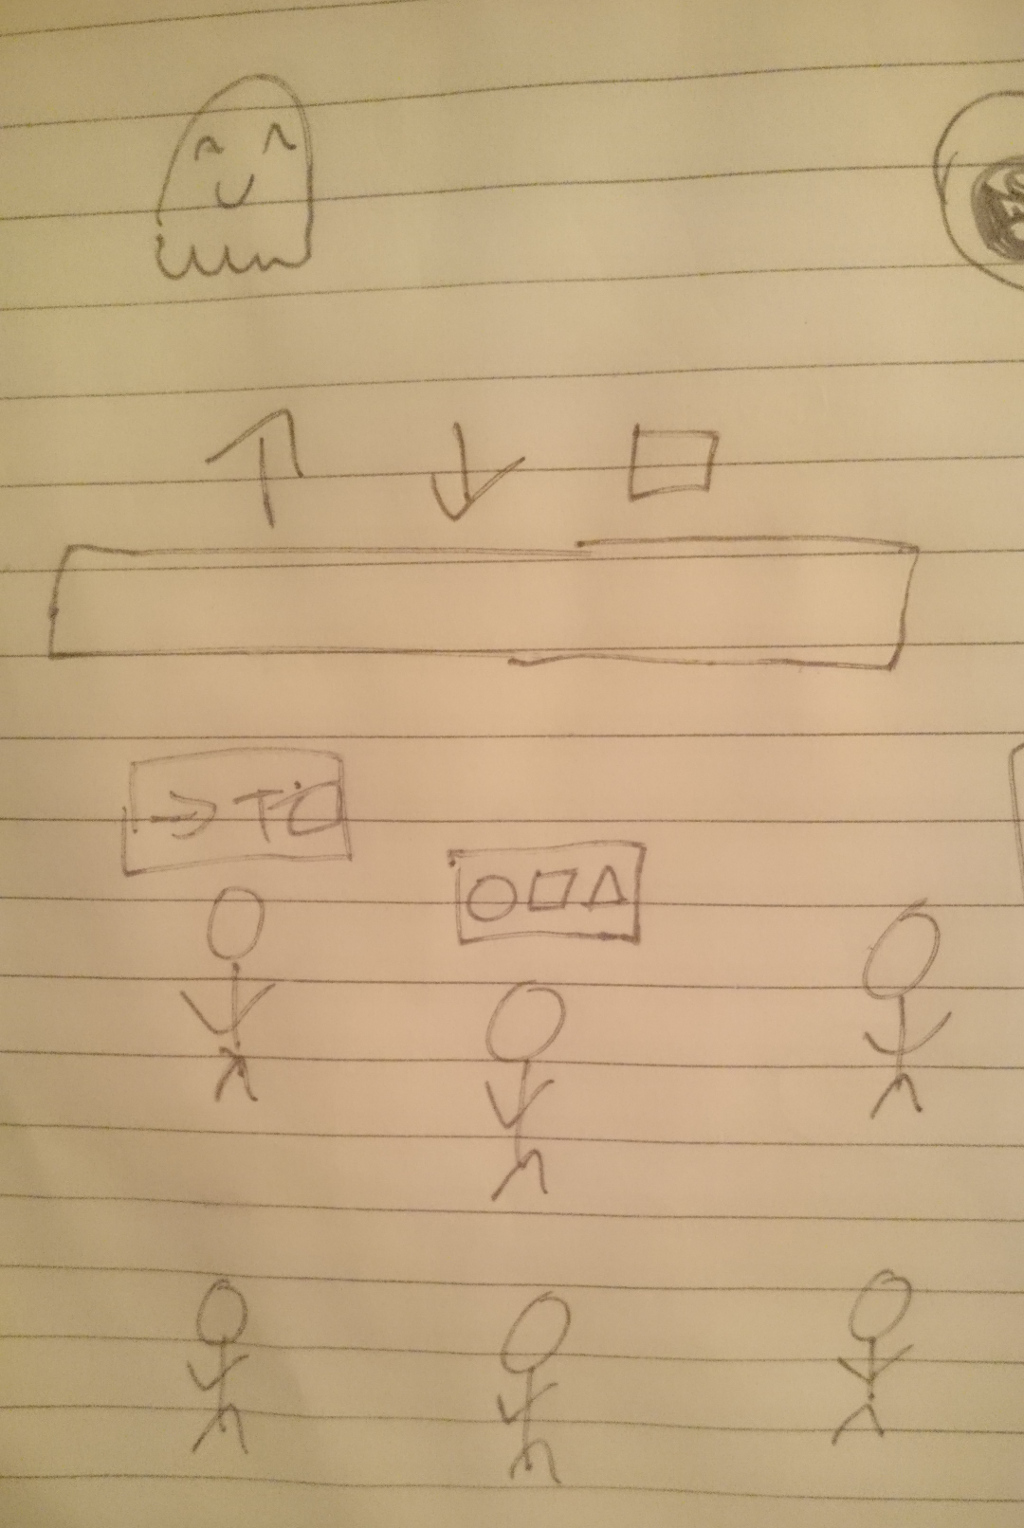
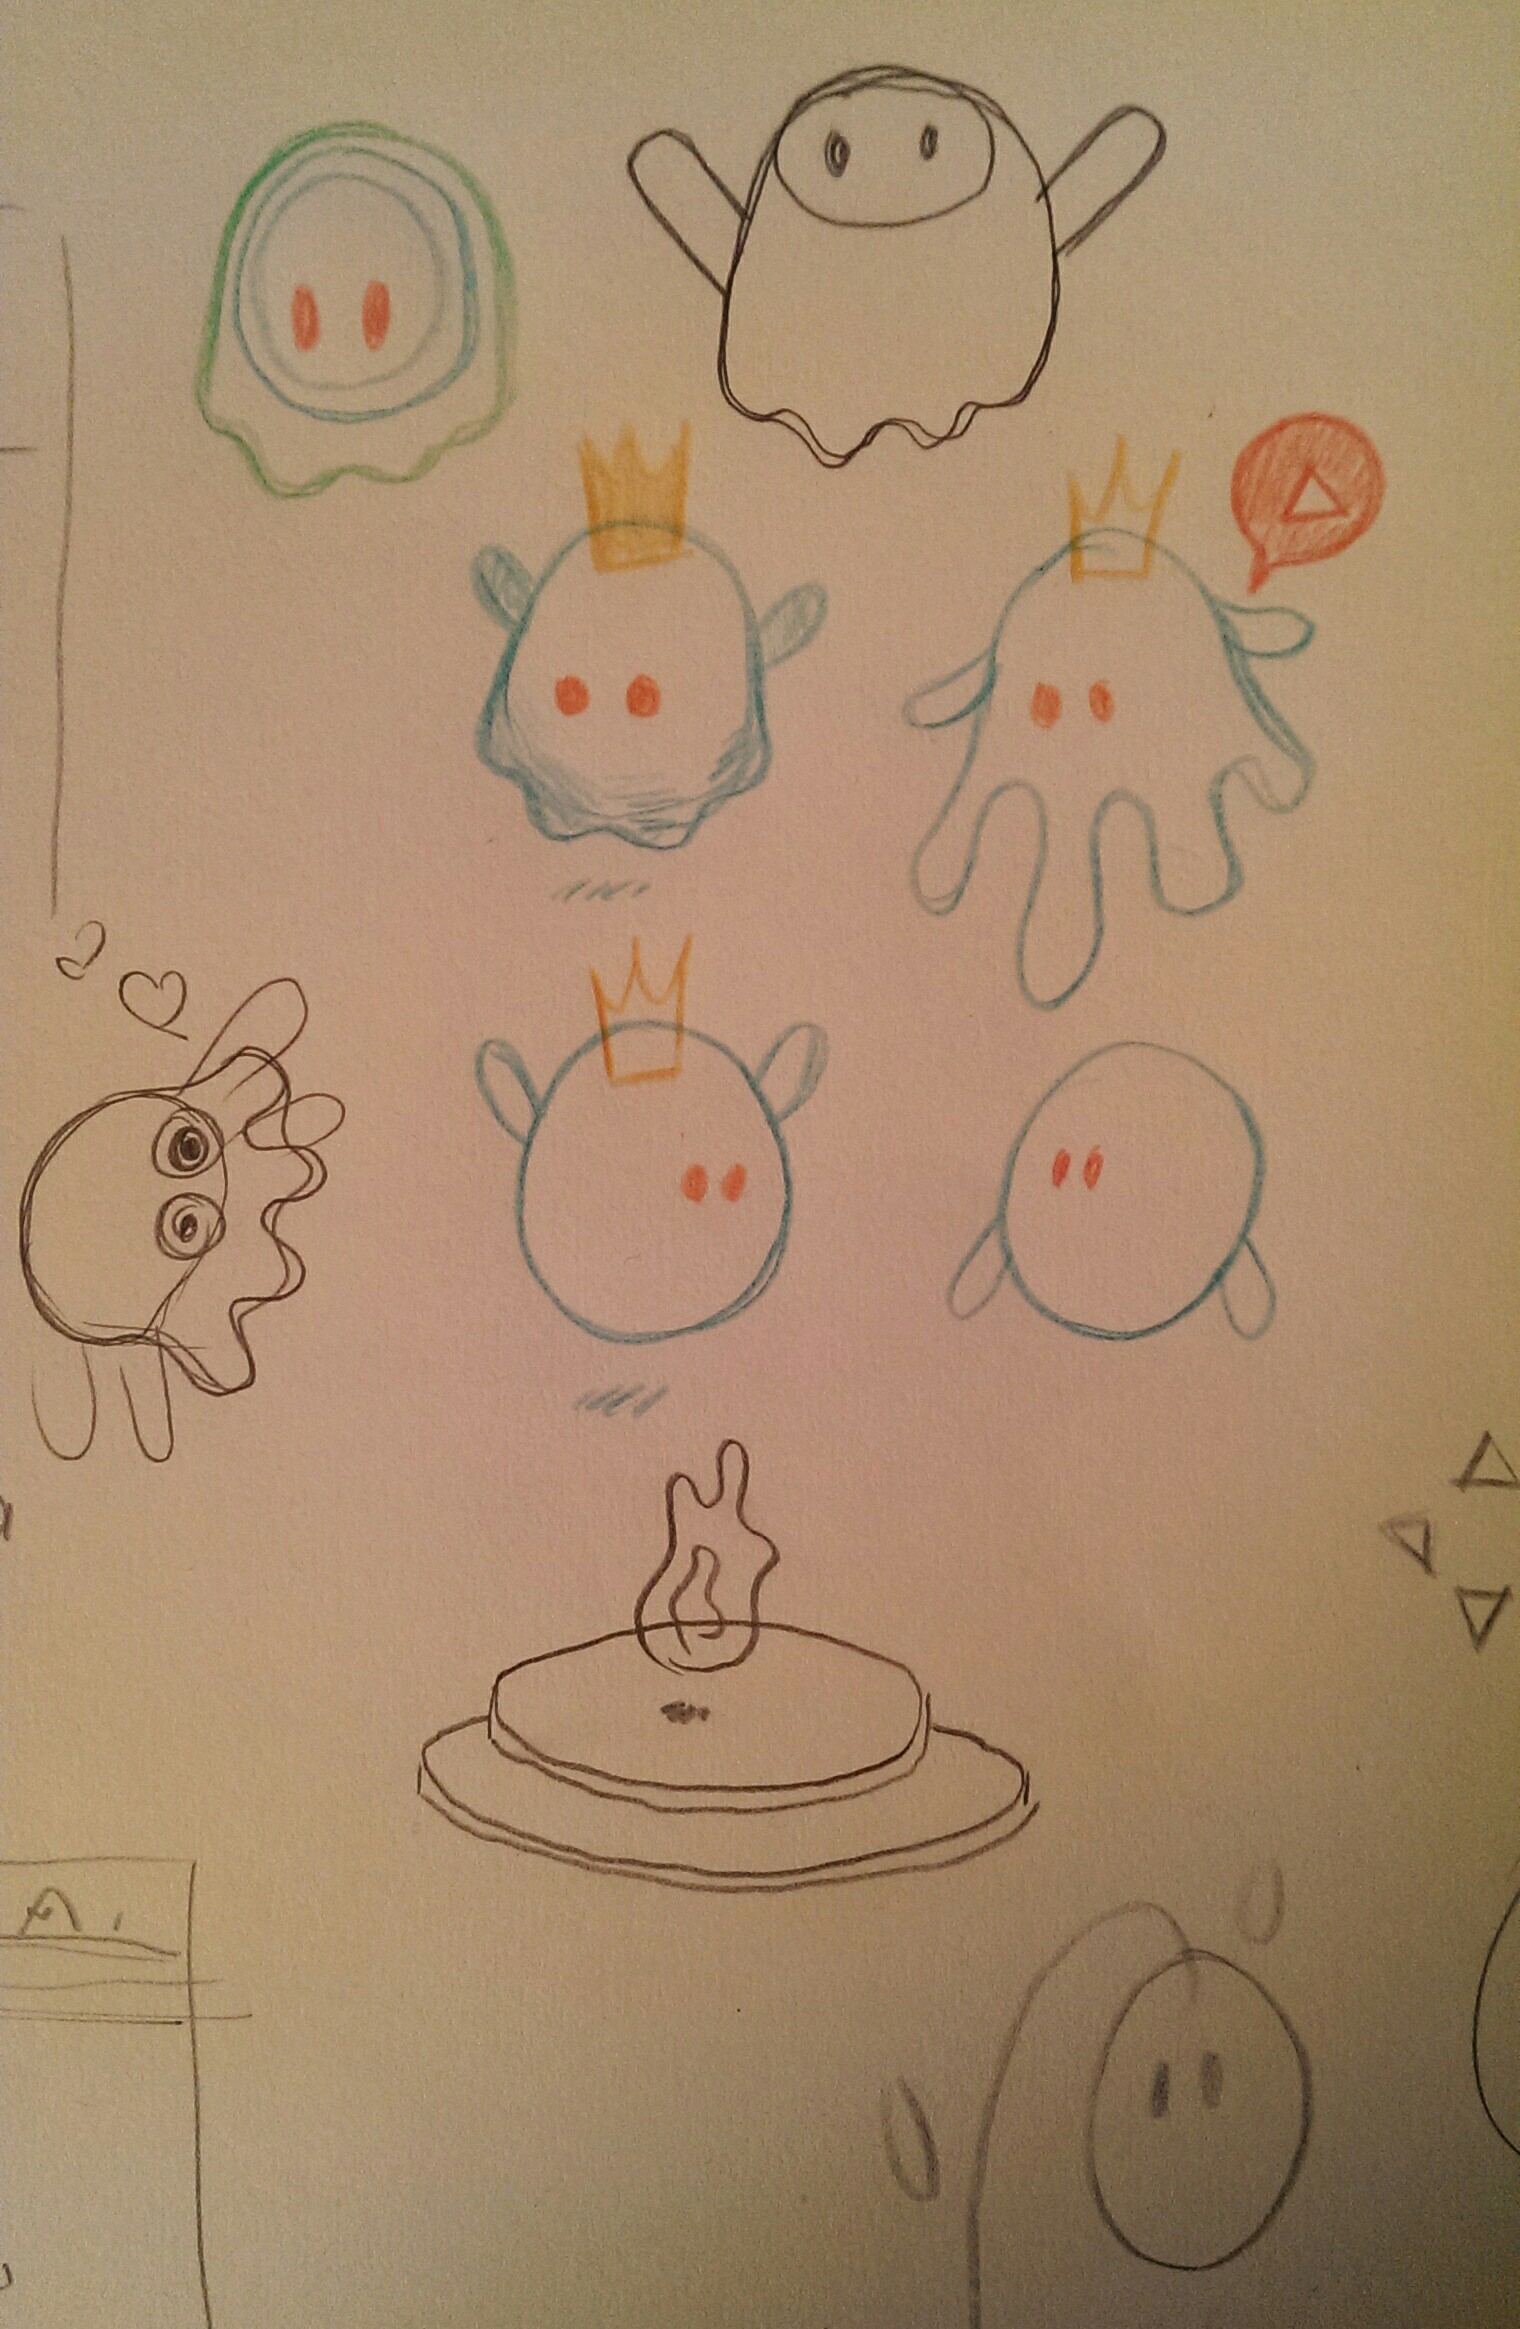
We decided make a rhythm based game where you had to press a button in time to a rippling wave. After seeing the drawing Jules (my other teammate) said that it looked like it could be based in a pond and soon she had some sketches with frogs in a pond.

frog_sketch
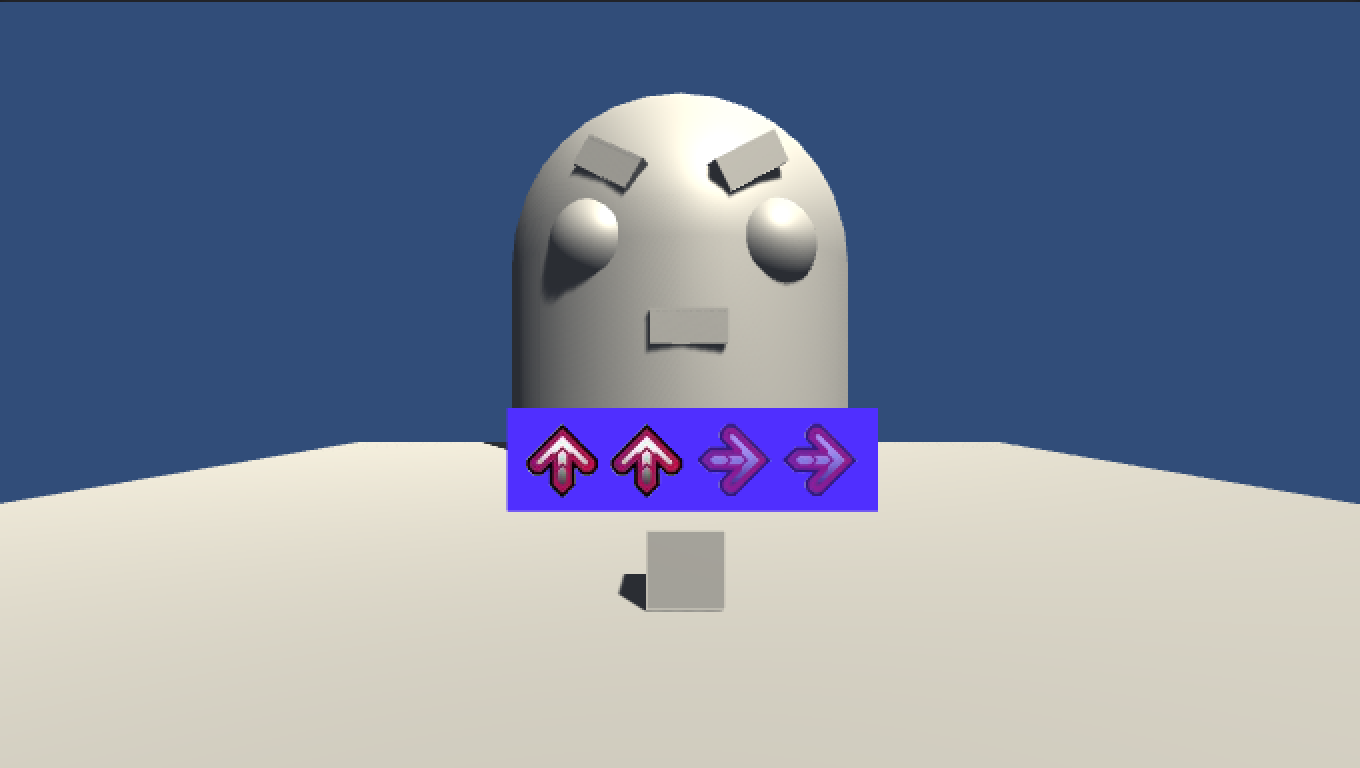
So I rapidly began hacking away and after a little while I had an initial prototype.

DesktopOne of the biggest issues was ensuring that all the music would be kept in time. I created BeatCounter script that would give me callbacks every time the audio played a beat or completed a bar.
At about the 6 hour mark we has our game feature complete, which gave us 2 hours to add polish. This game us time to add particle systems and to make the frogs bop their heads in time with the music (just by listening to the beatcounter callbacks).

GameGif
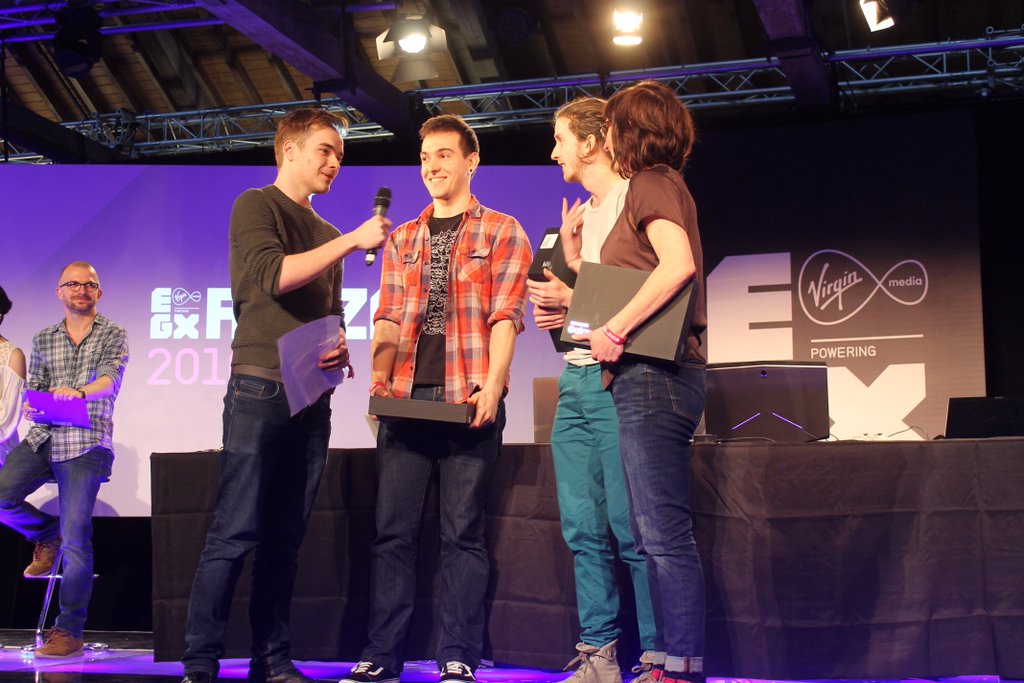
On Saturday we had to give a presentation of our game which you can see below. Shortly afterwards we were announced to be the winners, much to our disbelief.

Photo by @Lobo_Demon

You can check out the awesome music Michael made on soundcloud:

I had an such awesome time at this jam, and I met so many lovely people and saw some really cool games being made. We have now released Toadal war on itch, so feel free to check it out 😀


Global Game Jam 2016

Icon

Please excuse the rushed sentiment of this blog post, but having finished coding our game for Global Game Jam ’16 words are starting to fail me. You can view our game over here:

http://globalgamejam.org/2016/games/dances-elder-gods

So the theme for 2016’s GGJ was that of ritual, so we instantly started thinking of tribal communities worshiping their deity of choice. We started brainstorming in the pub on Friday night. Here are some sketches from then, (it’s surprising how close they are to the finished product).

Blog1

blog2

Initially we were unsure whether to make a straight rhythm game, or opt for a mastermind (board game) style game where you have to guess the correct pattern. Eventually we settled on the later.

So we began development of the game, and I created an early prototype which had some form of dance input.

Screen Shot 2016-01-31 at 20.22.48

Michael (@Mikey_PB) then worked on creating all the sfx and music, only sampling his voice to meet the “Loudmouth” GGJ diversifier (which totally worked for our style of game). Jules (@julesRGB) then squirrelled away creating us some art work while Kylie (@TajunShadow) worked creating us some low poly environments. Here are some of Jules’ early sketches:

IMG_20160131_201946

IMG_20160131_202143

IMG_20160131_202354

and by the end of Saturday (!) we had a fairly stable build of our game.

Test

Then on Sunday we put on the finishing touches on the game, adding in new sounds effects and adding the animated monster in the background. Here’s a gif from the final game:

Gameplay

Connect GitLab to Trello

One of the things that I have always found useful when working with task tracking software, is the ability to see a list of all git commits associated with a given issue. Currently commit tracking is only supported for Business class users, and so far only GitHub is supported.
Here I will explain how you can get Git to automatically link your trello cards with your git commits.

1) Firstly, install node and node trello,

sudo npm install -g node-trello

2) Next get an app key from trello using the folowing link: https://trello.com/1/appKey/generate

3) Allow Git-hook to use your account – https://trello.com/1/connect?key=KEY_YOU_OBTAINED_FROM_STEP_TWO&name=git-hook&expiration=never&response_type=token&scope=read,write

4) Unzip the attached ZIP file into your .git directory for your project (this file may be hidden for you). So the path should be your_project_path/.git/hooks

hooks

5) You may need to make the script executeable

chmod +x your_project_path/.git/hooks/*

6) Open the post-to-trello file in the hooks folder and fill in your key, token, repo link, and board id. To get you board ID, go to your trello board in a browser and append “.json” on the end of the URL e.g. https://trello.com/e/aaaaaa/my-board.json

Now anytime you mention a card number in a commit message like this : “#44 Some message”. Your comment should appear on your card. Credit to mashihua for the initial Git -> trello code.

Screen Shot 2016-01-27 at 13.07.09

Mr Penguin – A twitter controlled bubble robot

For the last couple of lunchtimes I have been working with my technical director Alan to create a bubble machine that could respond to our social media presence.
Meet Mr P

Mr p

We brought a kids bubble machine for a couple of quid and modified the switch on top so it was linked by a transistor. This transistor was then enabled and disabled by the GPIO socket on a Raspberry Pi, which we then switched on and off using a simple node.js program.

IMG_20151005_133209

The Twitter API has two REST callbacks which are were helpful for us to respond to our presence.

Firstly, one call to get the all the retweets of the logged in user
Secondly, one call to get the list of followers

I wrote the program to poll these callbacks every minute and to detect any changes.

Lastly, the program also posts to our company Slack channel, detailing what Mr P is excited about.

Screen Shot 2015-10-12 at 11.53.41


Here’s a copy of the source code and here’s a video of the little guy in action.

OTA iOS app distribution without Testflight

So TestFlight has been taken down today and rolled into the new iTunes connect service. Unfortunately the new service came with bunch of restrictions that make it pretty much useless for me, including:

  • 30 day limit on build beta testing
  • 25 user limit for internal builds
  • An Apple review required to release to more than 25 users

So what can be done, without requiring testers to fiddle around with iTunes?
Now with the enterprise developer account it is well documented that you can serve IPA files using a URL, but this functionality is also available to normal Apple developer account users, but with a little bit of tinkering.

Firstly create a Ad-Hoc IPA that you would normally upload to Testflight.
Next you will need to generate a manifest for your IPA (this used to be done for you, but the feature has been removed from Xcode 6). Here’s a copy of the template that I use to populate mine:

<?xml version="1.0" encoding="UTF-8"?>
<!DOCTYPE plist PUBLIC "-//Apple//DTD PLIST 1.0//EN" "http://www.apple.com/DTDs/PropertyList-1.0.dtd">
<plist version="1.0">
<dict>
   <key>items</key>
      <array>
         <dict>
            <key>assets</key>
            <array>
               <dict>
                  <key>kind</key>
                  <string>software-package</string>
                  <key>url</key>
                  <string>REPLACE_URL</string>
               </dict>
            </array>
            <key>metadata</key>
            <dict>
               <key>bundle-identifier</key>
               <string>REPLACE_BUNDLE_ID</string>
               <key>bundle-version</key>
               <string>REPLACE_BUILD_VERSION</string>
               <key>kind</key>
               <string>software</string>
               <key>title</key>
               <string>REPLACE_APP_NAME</string>
            </dict>
         </dict>
   </array>
</dict>
</plist>

Replace the strings, and use the URL that your IPA will be hosted at (this address does not need to be https).
You will then need to upload this manifest file to a server which is uses https. I ended up using a Amazon S3 bucket as they are currently offering a year free trial for new users. If the manifest file is not on a server which uses https, the download will not work on iOS 7+ devices.
Once you are hosting both the Manifest file, and uploaded your IPA, you should be able to download your IPA onto a device using the following link:

itms-services://?action=download-manifest&url=https://REPLACE_MANIFEST_URL

this link can then me emailed or on a webpage, and will allow any user in your provisioning profile to download your app directly on their iOS device.

Recording and Playing Back Gameplay In Unity

One of the core features required for Dora and Friends was the ability to record and playback Unity gameplay. As well as being able to playback gameplay, we also had a requirement for users to be able to scrub through the gameplay and export the gameplay data to a video.

The basic structure for the replay system we developed was as follows:

RecordingManager
The Recording Manager is responsible for polling any objects that we may want to record, and checking if they have made any changes since the last frame. If a change is detected the objects transform data will be recorded for that frame, otherwise we logged the index of the previous frame the object was updated on.

RecordableObject
The Recordable Object simply contained a list a variables that we wanted to record, with a series of helper methods to get and compare the various variables.
Here is a copy of the data we ended up recording for our game:

    public class RecordableData
    {
        // ID of sprite displayed (for 2D objects)
        public ushort spriteId;
        // ID of parent objects, as we're only recording local movements
        public ushort parentId;
        public ushort frameNumber;
        public bool activeSelf;
        // Should object tween it's position for this frame
        public bool tweenPos;
        // Local XYZ coordinates
        public PositionData positionData;
        // Local quaternion data
        public RotationData rotationData;
        // Local scale
        public ScaleData scaleData;
        // RGB values for objects that change colour
        public ColourData colourData;
    }

It may be worth noting that it is much better and easier to record Quaternion rotations rather than Euler angles as they are more deterministic, and you won’t have to deal with angles wrapping from 360 to 0.

PlaybackManager

The playback is responsible for working out which frame the game should display during playback, and which objects it should move. The playback manager should be able to handle skipping frames and interpolating between frames, as the playback frame rate of the game may not necessarily be the same as the recording framerate.
In Dora & Friends, I ended up using a system that played pretty much exclusively interpolated frames, as the chance that the time passed between the frames would ever be identical. This also resulted in much smoother playback, and allowed us to record at lower framerates. I did allow objects to turn on and off the tweening where appropriate.

To serialise the replay data we used the excellent protobuf-net library. This tutorial outlines a great way to export custom structs as a binary file.

Another library worth mentioning is the iVidCapPro library, which provides a framework for exporting Unity3D gameplay to encoded video on iOS using the GPUImage Library. I ended up using a version of the library (modified to allow faster than realtime export) to save the gameplay videos to the devices.

Similarly, intel have just released this tutorial for the INDE Media Pack, which could be used to video export on Android. Although I have yet to test out it’s functionality.

Creating a font

While developing Super Jump Golf I have been playing around with some of the existing games developers have produced using Cocos2D. One of the features that consistently stick out on my mind when playing most of the games is the difference a unique font can bring to the game.

Using bitmap fonts can also potentially improve load times over true type font, since the bitmap images won’t have to be generated at runtime.

Cocos2D supports bitmap fonts in in the form of a .fnt file and a bitmap font atlas. There are free tools avalible, such as Heiro (OSX) and BMFont (Windows), which will create these files for you, but will require the true type font (.ttf) to be previously installed on your system. Once you have created the true type font you can always use it later for promotion material for the game. So how do you create a True Type Font?

One option is to use Inkscape, an open source vector graphics program. Inkscape can simply import your bitmap images, trace the bitmap to make a vector (saleable) image and assign the selected graphic to a desired character. One of the downsides of the new SVG font editor however is that there isn’t currently any way to create fonts which aren’t fixed spaced. If you’re intending to create a mono-spaced font then this is by far the easiest solution to creating a font. You can find a tutorial on creating a webdings font using inkspace here.

The next option, and the option I ended up choosing is to create a font using a program such as Font creator. Font creator provides a simple interface and editor to allow you to change the spacing between each character.

While the process can be quite time consuming, it can be significantly reduced by first creating a vector image trace using Inkscape and importing the postscript (.eps) file into Font Creator (the bitmap image tracer that comes with Font Creator didn’t work too nicely with my character set).

fontImage

Once you have saved and installed the font, just load up Heiro or BMFont and you should be good to go. Another bonus of creating a TTF file is that you won’t have to resize your bitmap image for each size font that you need for your game, since the TTF can simply resized and a new font file generated.

fonttest